 |
|||||||||||
 |
||||||||
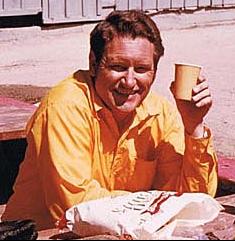
My dad invented the best treat to celebrate a Saturday morning: Peanut Butter Cinnamon Rolls! Over the years I have had many people ask me to explain how to make these lucious and decadent treats, so I decided to take some photos one morning of the process so that I could share them with everyone. Be aware that making these rolls can be a real mess, but I guarantee it is the tastiest mess you'll ever make! I hope that the legacy of my dad and his PBCRs can be carried long into the future. |
||||||||
 |
||
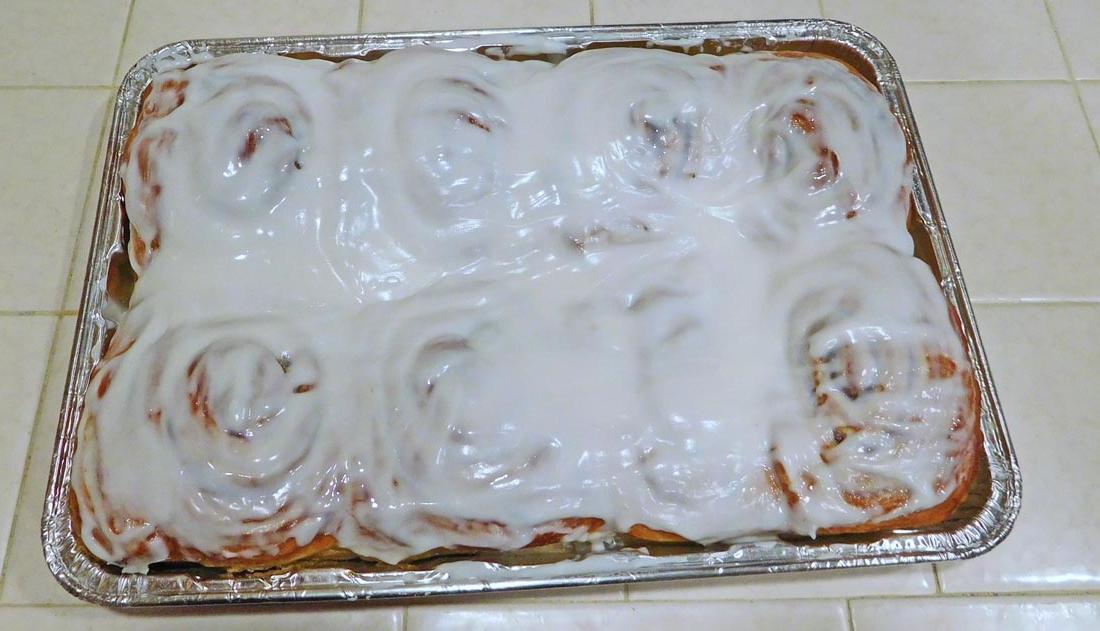
STEP 1: Purchase a standard 8-pack of cinnamon rolls from your local grocery store. Make sure they have plenty of icing!
NOTE: I usually make 2 rolls each for Cherie and I, so 4 rolls altogether per batch. This also works out perfectly since 4 is a good number for a standard-sized frying pan. |
||
 |
||
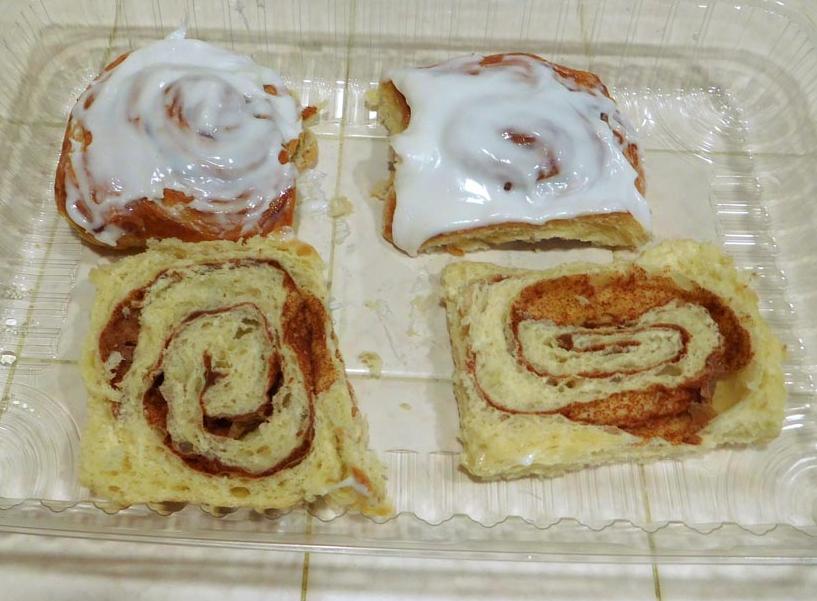
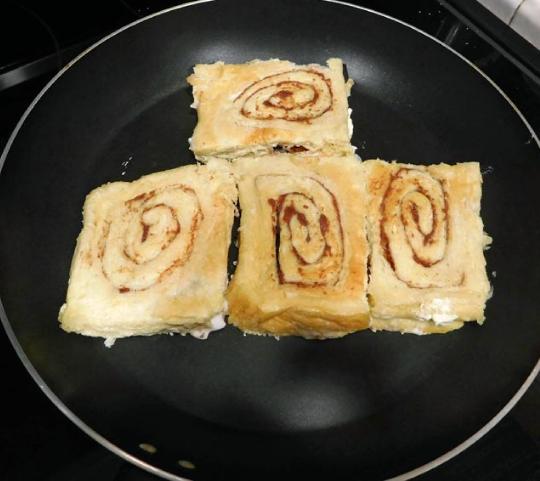
STEP 2: Slice each roll in half, and separate them as shown. |
||
 |
||
STEP 3: Butter the top of the bottom half. |
||
 |
 |
|||
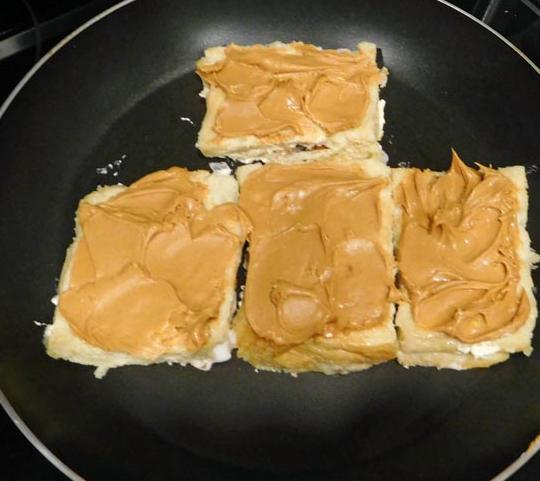
STEP 4: Place each of the bottom halves, butter side down, into the frying pan. |
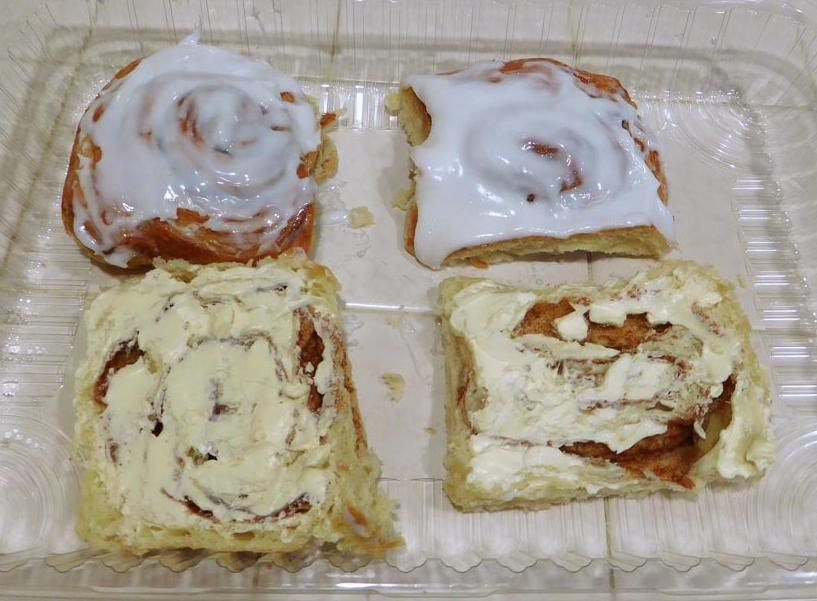
STEP 5: Spread peanut butter generously on the exposed side of the rolls as shown. |
|||
 |
 |
|||
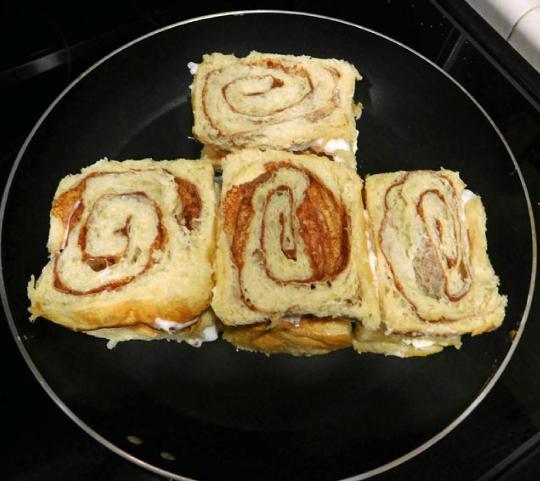
STEP 6: Take the half with the icing, flip it upside down, then place that on top of the half that is already in the pan with the peanut butter. |
STEP 7: Butter the exposed top of the rolls. Think of these as being made the same way you make a grilled cheese sandwich. |
|||
 |
||
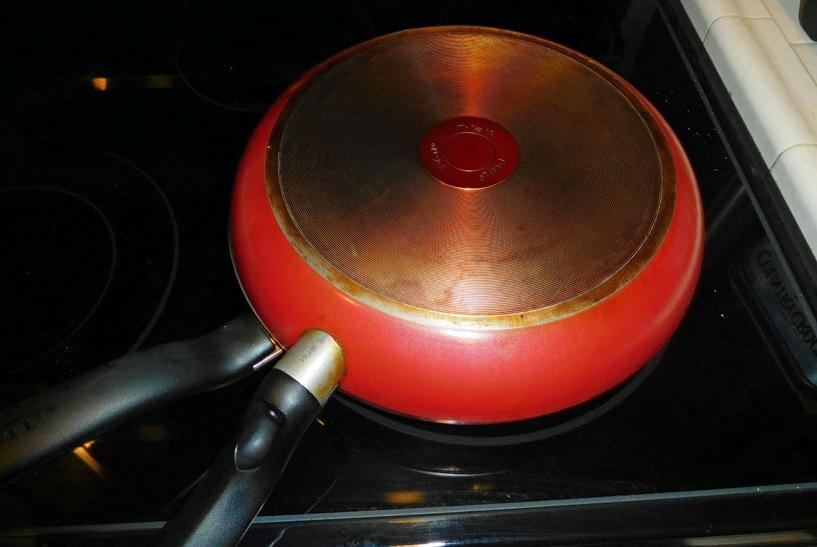
STEP 8: Turn the stove onto medium heat, and place another skillet on top to help the rolls cook evenly.
NOTE: Watch the rolls carefully so that they do not overcook. It is easy to burn them if you let them cook too long. On medium heat it should take about 5 minutes to properly brown the rolls on the first side, and probably less time for the flip side. |
||
 |
||
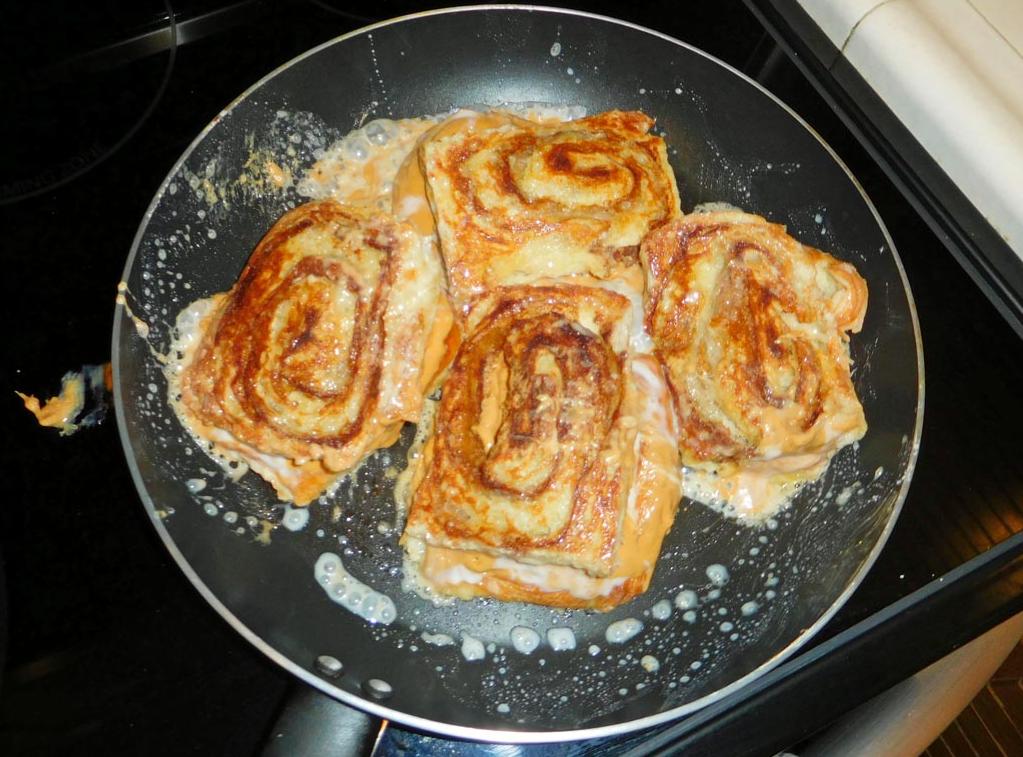
STEP 9: This is where it can get messy! Using a spatula, flip the rolls to the second side to finish cooking.
The peanut butter and frosting in the center of the rolls will ooze out into the pan as they heat, and it is easy to loose some outside the pan as you flip. |
||
 |
 |
|||
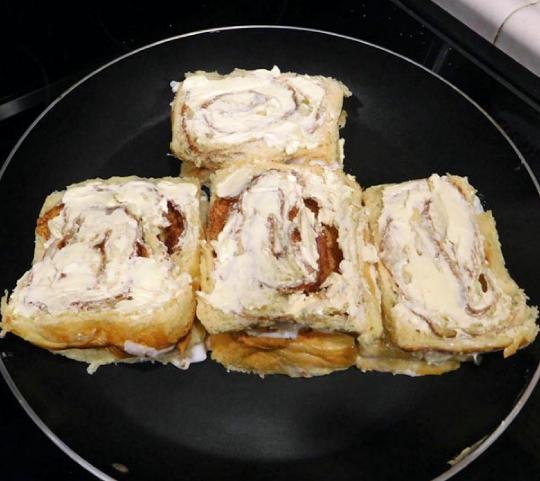
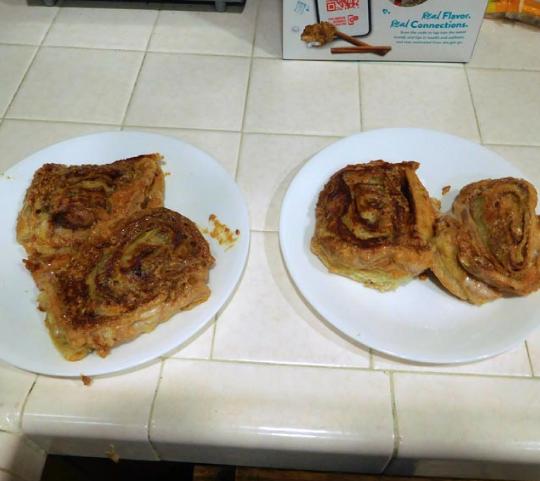
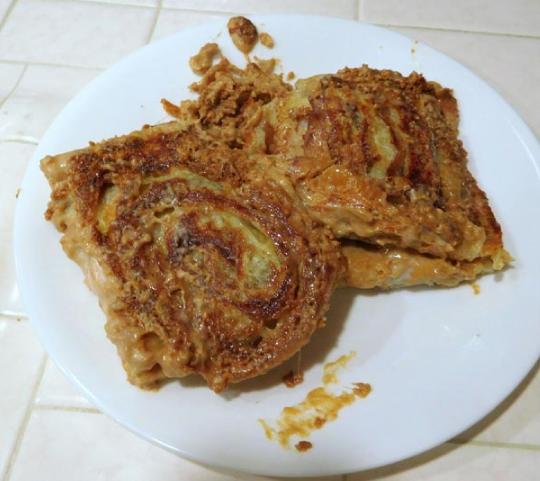
STEP 10: Remove the rolls from the skillet, and serve! |
STEP 11: Be sure to scoop out the excess peanut butter and frosting. Delectable! Cherie uses a fork. I consider them finger food. |
|||
 |
||